Volumes
Volumes let you persist data that virtual machines cannot keep between creations and deletions. It also gives you additional storage since VMs have limited storage capacity. The number of volumes you can have on your account is the same as the number of VMs you can have on your account so that you can attach a volume to each VM.
Creating a Volume
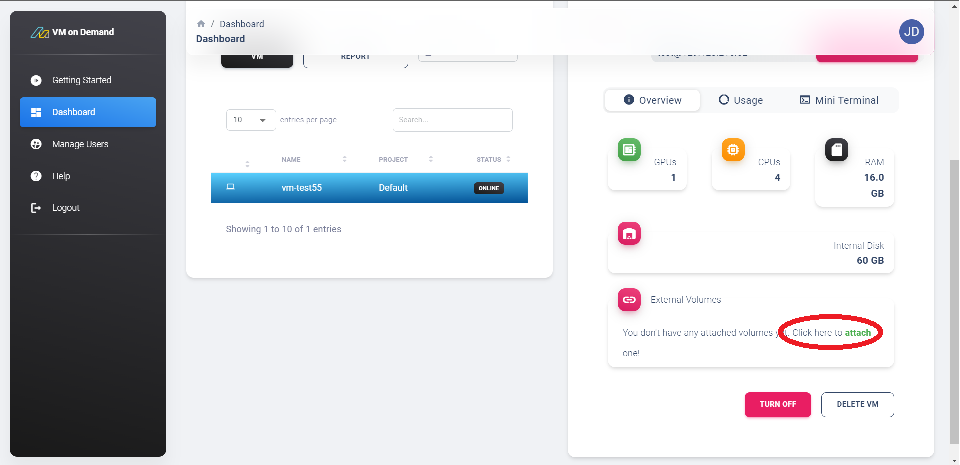
- To attach a Volume, go to the Dashboard panel and click the
attachbutton as shown below.
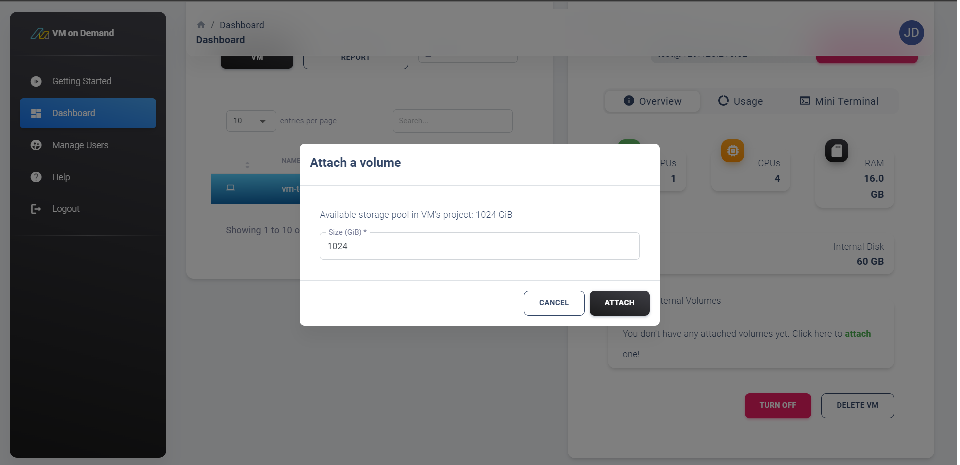
- Enter the necessary amount of storage for the volume.
You will not be able to change the size after creating the volume. Changing the size requires you to delete the volume and create a new one.
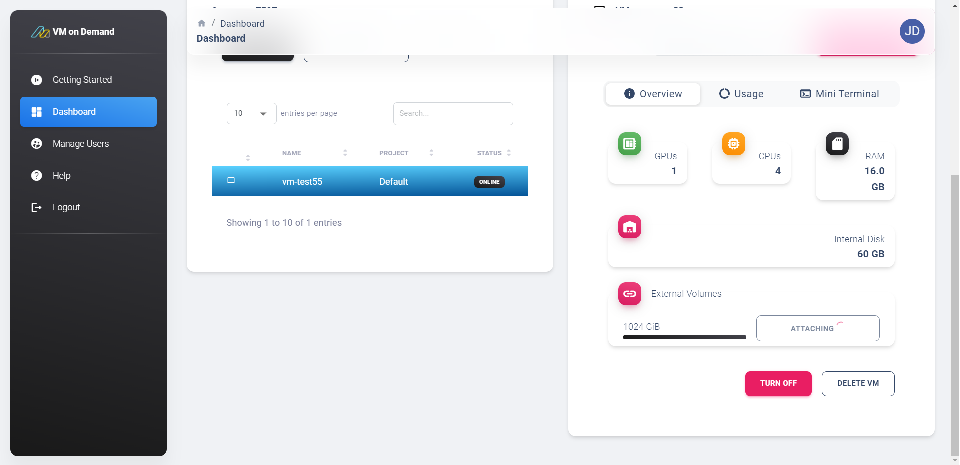
- Please allow a few seconds for the Volume to be attached to the designated VM.
Mounting the Volume
Log into your instance via SSH.
Find the volume that you want to mount.
List all the block devices present in your machine with
lsblk.The device name should be displayed in the Volume section which is
/dev/vdcby default.
Formatting a volume will result in loss of data, make sure to only format NEW volumes.
If mounting a new volume, format the volume first:
sudo mkfs.ext4 /dev/vdcCreate a mount point for the volume:
sudo mkdir /mntMount the volume to the mount point:
sudo mount /dev/vdc /mntPermissions may need to be changed on the new volume as they are initially set to
root:sudo chown <USERNAME>: /mnt
Detaching the Volume
Detaching a volume while it is in use may result in data loss. Make sure that there are no running processes in your machine that use the volume.
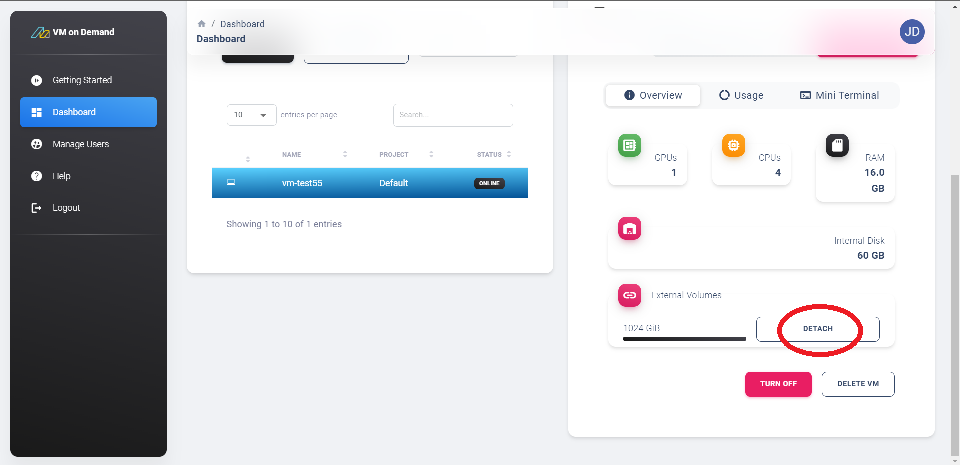
- Click on the
DETACHbutton in the Dashboard panel to detach the volume.
- Click
YESto confirm the volume detachment.